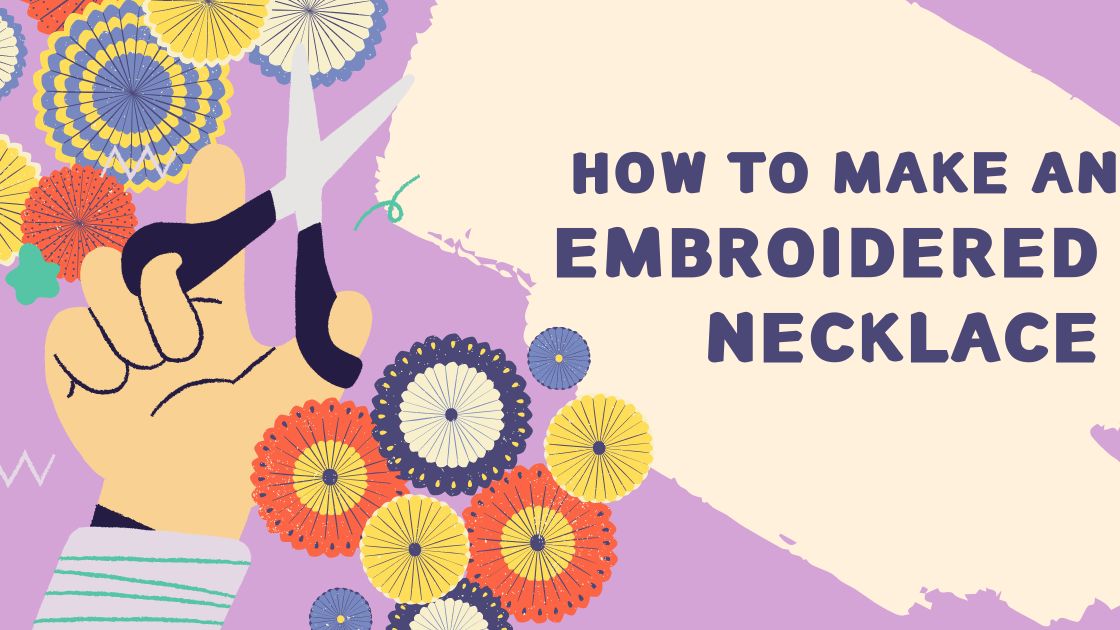
Embroidery, with its delicate stitches and intricate patterns, offers a unique way to elevate the beauty of necklaces. If you’re keen to infuse your jewelry with a touch of artistry, follow this step-by-step guide to seamlessly incorporate embroidery into your necklace designs.
Contents
Materials Required
1. Embroidery Hoop: Select a hoop size suitable for your design.
2. Embroidery Needle: Opt for a needle with a sharp tip and a wide eye to accommodate embroidery floss.
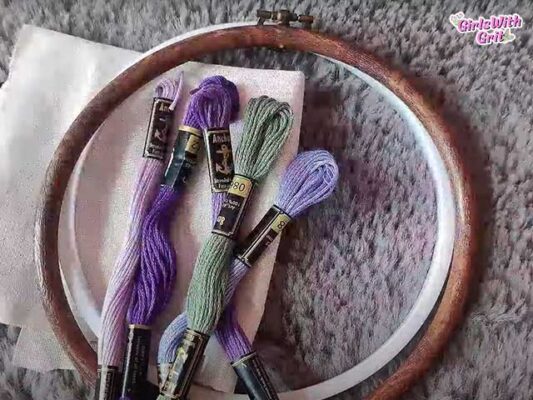
3. Embroidery Floss: Choose a palette of colors that complement your necklace design.
4. Fabric: Pick a sturdy fabric like cotton or linen to serve as the canvas for your embroidery.
5. Necklace Base: This could be a pre-made necklace chain or cord, or you can fashion your own using jewelry-making supplies.
6. Scissors: Ensure you have a sharp pair of scissors for cutting embroidery floss and fabric.
7. Embroidery Pattern: Decide whether you’ll use a pre-existing pattern or create your own unique design.
Step-by-Step Instructions
1. Set Up Your Workspace
– Prepare a clean, well-lit workspace with ample room to maneuver your materials.
– Lay out your embroidery hoop on a flat surface.
2. Transfer Your Design
– If utilizing a pre-existing pattern, transfer it onto your fabric using a transfer pencil or water-soluble pen.
– For original designs, sketch directly onto the fabric using a pencil.
3. Secure the Fabric in the Hoop
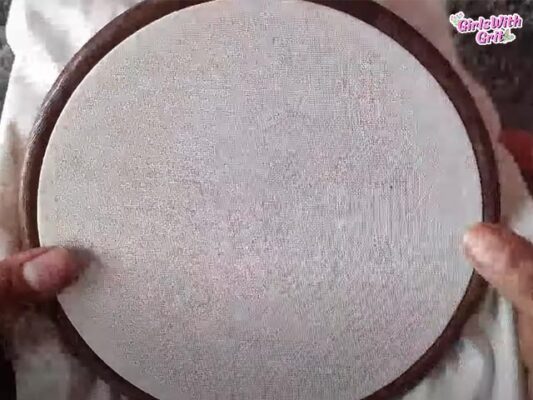
– Loosen the screw on the embroidery hoop and separate the inner and outer rings.
– Place your fabric over the inner hoop, ensuring your design is centered.
– Fit the outer hoop over the fabric and inner hoop, then tighten the screw to secure the fabric in place.
4. Thread the Needle
– Cut a suitable length of embroidery floss, typically 18-24 inches.
– Separate out one or two strands of floss, depending on the desired thickness.
– Thread the floss through the eye of the embroidery needle and tie a knot at the end.
5. Commence Embroidering
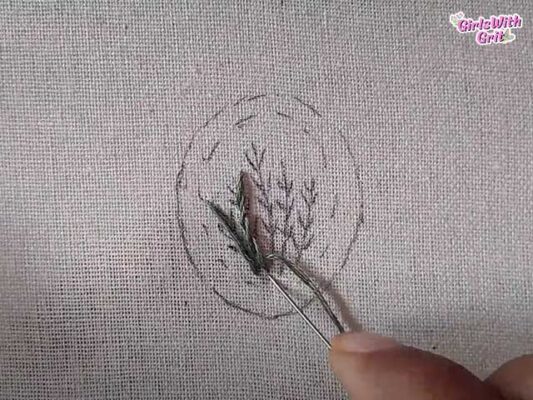
– Begin stitching your design according to your chosen pattern.
– Commonly used stitches for necklace embroidery include backstitch, satin stitch, French knots, and chain stitch.
– Ensure your stitches are neat and even, particularly for intricate details.
6. Complete Your Embroidery
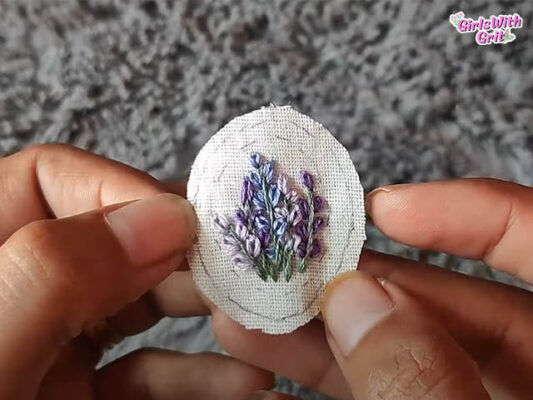
– Continue embroidering until your design is finished, taking breaks as necessary to rest your hands and eyes.
– Once done, carefully trim any excess fabric around the hoop, leaving a small border.
7. Attach the Necklace Base
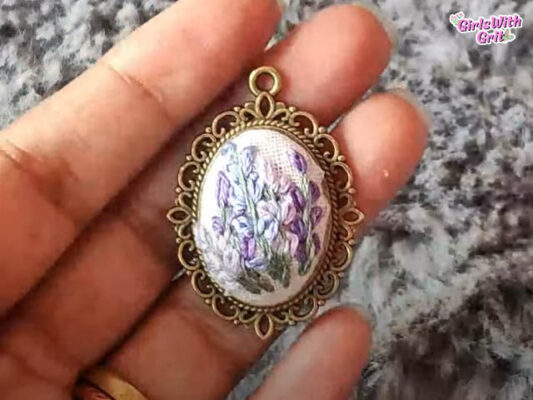
– Determine where you want to affix the necklace base to your embroidered design.
– For pre-made necklace chains or cords, use jump rings or a clasp for attachment.
– If crafting your own necklace base, employ techniques such as wire wrapping or beadwork to secure it to the embroidery.
8. Final Touches

– Inspect your necklace for any loose threads or imperfections, making any adjustments as needed.
– Optionally, add embellishments like beads or sequins to enhance your design further.
– Once satisfied with your creation, your embroidered necklace is ready to adorn or share as a unique piece of wearable art.
By diligently following these detailed instructions, you’ll craft exquisite embroidered necklaces that seamlessly blend elegance with creativity. Experiment with various embroidery techniques and designs to fashion truly one-of-a-kind pieces that captivate the eye and stir the imagination.
Thank you for embarking on this journey of creativity with us as we explored the art of adding embroidery to necklaces. May your hands be steady and your imagination boundless as you bring forth your own unique designs. Here’s to your success in crafting stunning embroidered necklaces that reflect your individual style and charm. Happy crafting!
Related Posts
- 10 Tips to Improve Your Drawing Skills Like a Pro
- Elevate Your Design with Best 10 Free Fonts for Commercial Use
- Exploring Outdoor Fonts for Nature Enthusiasts